Fixing a transfer case drip
NP 263HDGM Output Seal Replacement
Why’s that thing leaking? Well why the hell wouldn’t it? My Silverado 2500HD has around 180,000 miles on it. That’s over half way to the moon! Its not a horrible leak but in preparation for a 10 hour road trip I thought fixing the drip would be better than finding out how bad it could get. This case is also known for the internal oil pump rubbing a hole in the housing wall and causing leaks…but luckily this fix is way easier.
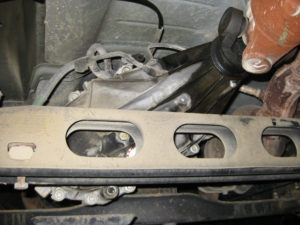
Leaky but not terrible
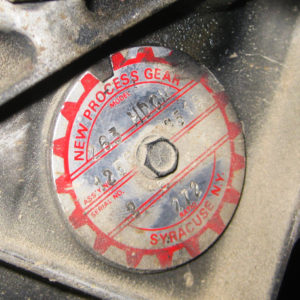
The first step was figuring out what transfer case I actually have. New Process Gear was kind enough to put the plate with the model in an easy to find location. With my truck having the 6.0L gas engine it seems that often times it get mixed up with the Duramax drive train and there are some differences when you get to the parts counter.
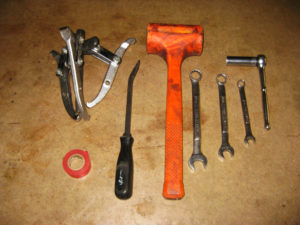
The tools need for this job are nothing exotic.
- 18 mm wrench
- 15 mm wrench and deep well socket
- 8 mm wrench
- Pry Bar (always a necessity)
- Tape (Keep the U-Joint cap in place)
- Hammer (of course)
- Three Jaw Puller ( kinda over kill…but I had it)
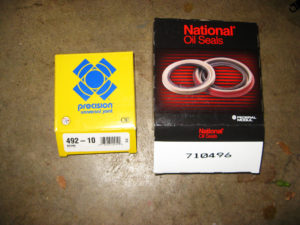
For this job I only needed the seal and a set of U-Joint straps. I’ve reused u-joint straps many times with no failures but they are really not that expensive so why not just replace them. I sourced these from Rock Auto. I recommend measuring the output before heading to town. The 6.0L uses the smaller diameter seal.
- National Oil Seal 710496 (47.5 mm shaft, 68.5 mm bore)
- Precision Universal Joints 492-10 (Cap Diameter 1-3/16″ , Width 3/4″ )
The first step is dropping the drive shaft. Pretty simple just loosen the u-joint straps at the axle yoke and gently pop out the u-joint. I will often loosen the straps but leave the last few threads engaged, then pry out the u-joint. This keeps the caps from flying off and your u-joint needle bearings from rolling around in the dirt. Once that is all under control its worth putting a few wraps of electrical tape on the caps to keep all the greasy bits in place.
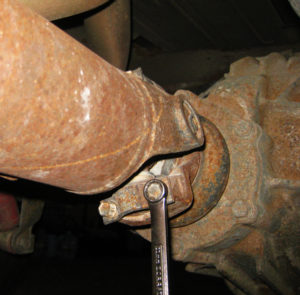
Loosening the U-Joint straps
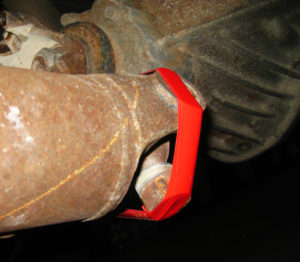
A bit of tape to keep all the greasy bits inside
Now that the rear half of the drive shaft has been liberated drop the carrier bearing and slide the front yoke out of the t-case.
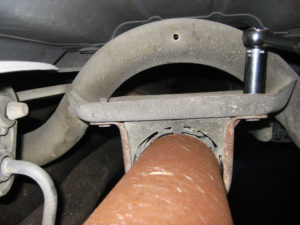
Pulling the old seal was a bit of chore and my slide hammer was a joke. Luckily I had a three jaw puller. This is the only way to go. These tail housings are so easy to ding or crack that going slow and using a puller can save a tone of headache and expense.
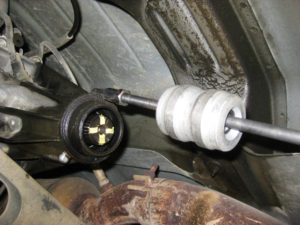
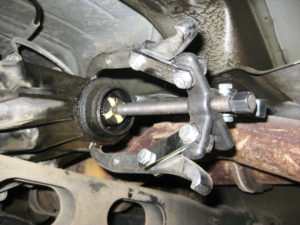
The three jaw puller made this easy with zero risk to the
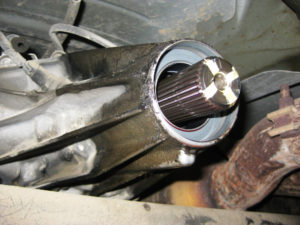
Seal Removed
The last step was finding a way to install the seal and not completely ruin it. For me the magic tool was an odd 2-9/16 socket that I had around. Bummer. I had been looking for an excuse to buy a seal driver kit. In stalling this was awkward but eventually I got it to install evenly.
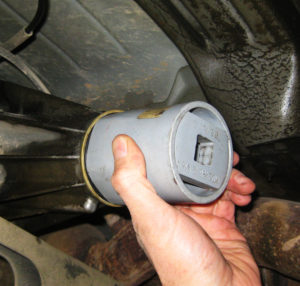
Installing the seal
Pro Tip: This seal has a weep hole that should be pointing downward.
Apparently I’m not a pro so its clocked somewhere in the 2:00 position. This really bugs me but the damn thing was expensive and I really don’t think pulling it out and reusing it is the right move. Oh well C’est la vie…
